
This article outlines the process of installing the MyRacePass Profile Facebook Page Tab to a Facebook page.
The plugin is a separate component unrelated to linking your Facebook account to MyRacePass.
Linking your account allows you to post from MRP to your social platform of choice, whereas the MRP Facebook Tab embeds MRP content as a custom tab on your Facebook page.
Installation Steps
- Begin on your MRP Admin site, click the gear icon in the top-right and select Account Settings.
- Next click Social Links on the left-side menu.
- Scroll to the bottom of the page and you will find a section titled Facebook Plugin.
- In this section, click the link Click here and follow the prompts to add the plugin.
-
You will be redirected to Facebook and asked to log in if you haven't already done so.

-
You will then see a page titled Add Page Tab.
It is only possible to add the plugin to Facebook pages, not groups. However it is possible to create a page for a group and install the plugin on that page.
-
From the dropdown menu select the page on which you want to insert the plugin.
If you do not see the desired page, verify that you are a Standard Administrator on the page.
-
Click Add Page Tab.
Facebook policy may prevent pages with fewer than 2000 likes from installing the plugin.
-
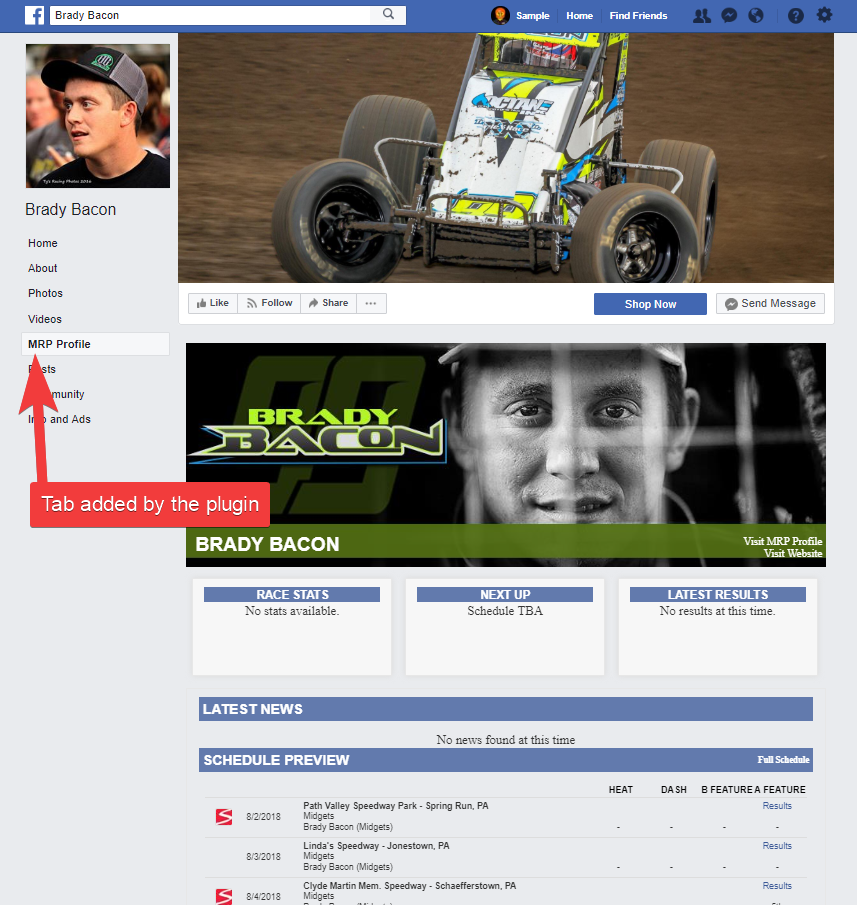
View the chosen Facebook page, you should now see the plugin.
See Also:
Comments
0 comments
Please sign in to leave a comment.